Last update 5/12/2024
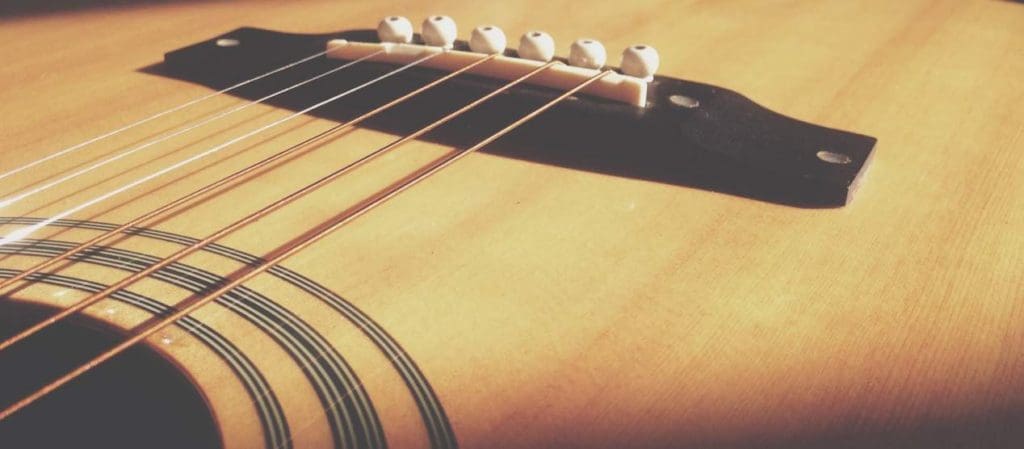
Recording guitars are not as complicated as it once was. These days, you can have your home studio set up ready to start recording an acoustic or electric guitar quickly. The best part is it won’t break the bank. With the pandemic running rampant for the last two years, recording studios had no choice but to close. As a consequence, there have been no studio work or live shows.
How to Record Guitar at Home Table of contents
Recording guitars
Therefore, as a session musician, most of my work had to be done remotely from home. However, remote sessions were nothing new; they happened way before the pandemic began.
Working remotely from home in the past couple of years has helped me hone my skills with the latest technology and general no-how. However, my experience recording my guitars remotely in the previous years proved fruitful. I will share my thoughts about recording guitars at home with you.
What gear do you need to record guitars at home? Your Laptop or PC is at the heart of your home recording rig. No matter how good your guitars or amps are, your efforts will fail if your computer is not up to the task.
First things first
Daws (digital audio workstations) are computer resource intensive. In particular, the CPU. ( central processing units). If your computer shows age, check the specs, and the CPU can run a DAW with multiple tracks and effects.
If you are not computer savvy, get advice from someone qualified to advise you if you have an old steam-driven computer that’s a museum relic. It will not run a DAW.
Depending on how much mixing and mastering you want to do, you might get by with an average price Laptop. From experience, I rarely have projects that use more than five tracks simultaneously: any Core i5 and equivalent CPU should get the job done.
Headphones and studio monitors
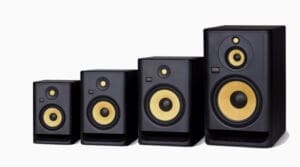
Once you are convinced that your laptop or desktop computer is up for the task, studio monitors or good headphones are next in line. These are critical components; they are as crucial to your home recording rig as is your amp’s cabinet or PA system is to your guitar.
If you can’t hear what you are playing correctly, it will translate poorly when played on other speakers. Ideally, you would be best served by buying the best headphones and studio monitors you can afford.
Good-quality listening devices will not change the original sound by adding or subtracting low-end, mid-range, and high-end sounds. That’s precisely the same ideal that Hi-fi enthusiasts have always strived for. Ask me how I know.
Of course, once you are at the mixing stage, you will change the sound as desired. But you want the original sound to be an accurate original copy where possible.
The Interface
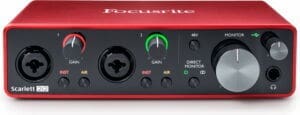
Another essential component is an interface that connects various components to your computer. A high-quality interface will enable you to connect a guitar (electric) and microphones. A decent interface will allow you to connect at least two devices. Cheap interfaces can prove to be a false economy; they can sometimes make the guitar’s dry tone overly bright or muddy.
You can buy an affordable interface from most guitar stores or any number of stores online. We recommend sticking with a major brand like Focusrite, for example. Ensure your interface has at least two inputs: one XLR for a mic and one standard jack for the guitar.
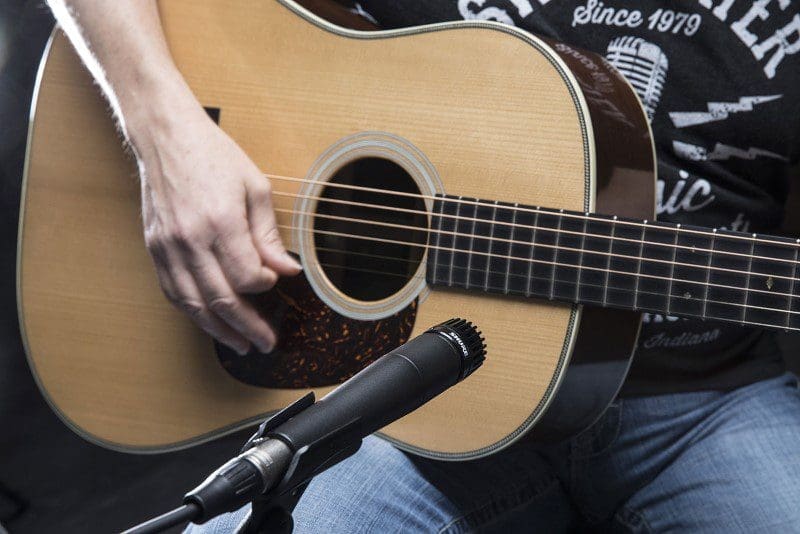
Microphones
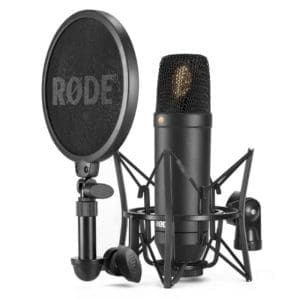
If you want to mic your amplifier or acoustic guitars, I suggest an SM-57 industry standard or an equivalent mic and a mic stand. We highly recommend using a microphone to record your acoustic guitar.
What software do you need?
You are going to need a DAW (Digital audio workstation). Choosing the right DAW is critical. The DAW is the software that needs to be loaded into your desktop computer or laptop.
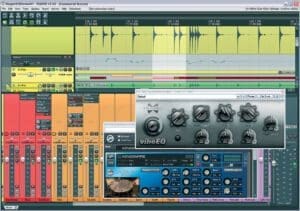
DAW software
The DAW is used for recording all your audio. You can perform your magic once the audio is recorded by editing and enhancing the sound. Your DAW will allow you to edit MIDI, sound mixing, and mastering, among other functions. The DAW is very powerful software; most have a significant learning curve.
Choose a DAW you like; you want it to be easy to use and lightweight for your computer. I use the very popular DAW called Reaper. You can trial It for free; it’s customizable and makes recording live instruments easy.
The interface is intuitive and resembles an analog mixing board. Because it’s free, you can try it for as long as you like; if you decide it’s not for you, try something else.
Other DAW’s
Other software like Logic Pro or Ableton Live is more oriented towards loop-based music and modern music production. It doesn’t matter what DAW you use if you feel comfortable with it.
Plugins/VST-s
VST stands for Virtual Studio Technology and includes all the different effects or emulation of physical gear you use to record, mix, and master music.
My approach to deciding what VSTs I need is the same as determining what pedals to use for my pedalboard. The logic is similar, and sometimes, the interface of guitar VSTs emulates a live guitar rig.
The effects are displayed on your computer’s screen, and they look like the real deal, just like the actual analog pedals. The knobs and switches can be turned and switched, allowing you to get the sound you are after.
Digital amp sims
Amp simulators have come a long way and sound very close to accurate. I support analog gear; however, most of my session work at home uses plugins.
Every modern plugin has its strengths and weaknesses, and from experience, I can assure you that even the cheap ones often offer authentic sounds.
Best practices of recording a guitar at home.
After you have all set up, the real work starts. I remember when I started, I spent at least two weeks playing around with my DAW to memorize the commands’ locations. I say, yes, a learning curve, but well worth learning. Know that the rewards are worthwhile.
What’s great is that you don’t need to know how to use the DAW inside out. Recording guitars and basic mixing only need a few commands and a set of good ears.
Recording best practices
My best practices for recording guitars at home for beginners are as follows;
- Set a fixed volume on your recording sound card and stick to it. Constantly tweaking the volume knob can cause you to lose perspective on whether or not it’s your guitar or the speakers that are too loud?.
- Set the gain level of the guitar to the point it barely goes yellow. The WAV form of your guitar doesn’t need to fill all the tracks. You can use a compressor to make up for that.
- Don’t use too much gain before making sure you need to raise the volume of the guitars first.
- Place your speakers preferably in the middle of the room and at the height of your ears when seated.
- Try hard-panning guitars left and right if you are recording multiple tracks.
When recording acoustic guitars, try to stand at the corner of the room with your back against the wall. That is the best position to hear the acoustic guitar sound when playing it back.
Recording Guitars in Stereo
Recording guitars in stereo can add a sense of width and depth to your music. It also makes the sound of your recording more immersive and engaging. Okay, so there are a few different ways to record guitar in stereo, each with its own unique sound.
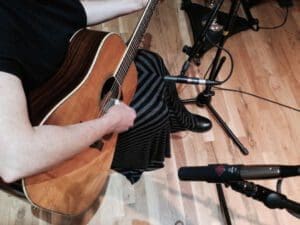
One common technique is to use two microphones spaced apart in front of the guitar. This is great as it will capture a wider stereo image. Essentially, you only need to use two microphones in two different areas of the guitar. Another technique is to use a single microphone placed directly in front of the guitar and then duplicate the track and pan, one copy hard left and the other hard right. This can create a more in-your-face stereo sound, but it’s important to be careful not to create too much phase cancellation, which can make the guitar sound thin and weak.
Here are a few tips for recording guitars in stereo
- Use cardioid microphones to minimize room noise and feedback.
- Experiment with different microphone distances and positions to find the sound that you like best.
- Try using different types of microphones to capture different parts of the guitar’s sound.
- Be careful not to create too much phase cancellation by panning the two tracks too far apart.
- Use a stereo compressor to glue the two tracks together and create a more cohesive sound.
If you’re new to recording guitars in stereo, I recommend starting with two-spaced microphones. This is the simplest and most reliable technique, and it’s a great way to get a wide stereo image.
Once you’ve mastered the basics, you can experiment with other techniques and microphone positions to find the sound you’re looking for.
Final thoughts about recording a guitar at home.
Having everything ready to record your first guitar tracks does not take long. You can buy what you need and set up your rig in less than a day. You should be able to purchase everything you need for less than $ 1,000 if you’re aiming to build an affordable setup.
However, if you intend to have the best setup immediately, I strongly suggest spending your hard-earned cash on the best studio monitors or headphones.
Recording your guitar can be very rewarding and lots of fun. Furthermore, recording your guitar can help improve your overall playing. Enjoy!
Transparency disclosure: Some of the links in this post are affiliate links, meaning that I may earn a commission if you click on a link and make a purchase. This commission comes at no extra cost to you. We only recommend products and services that I believe are helpful and valuable, and we never let the potential for a commission influence our recommendations.
Amazon guitar recorder